


Enabling LDAP Login
LDAP (Lightweight Directory Access Protocol) authentication enables customers to log in to the store with their organization’s login credentials without the need to create a new account.
LDAP and Secure LDAP (LDAPS) are the connection protocol used between the application and the network directory or domain controller within the infrastructure. LDAP transmits communications in Clear Text, and LDAPS communication is encrypted and secure. uStore supports both LDAP and LDAPS.
When a user logs in, uStore tries to match the LDAP domain-controller groups to existing groups in uStore. Group names that are found on both uStore and the domain controller are associated with the logged in user.
For example, if the user is member of Group1, Group2 and
Group3 and uStore has a group named Group1, the user will be associated
with Group1. Learn more

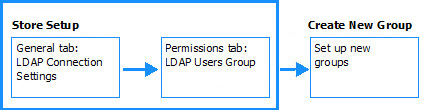
To configure LDAP authentication:
1. Under Storefront Login Management, in the Log in using list, select LDAP Authentication.
2. Click the Configure LDAP Connection link.
The LDAP Connection dialog box opens.
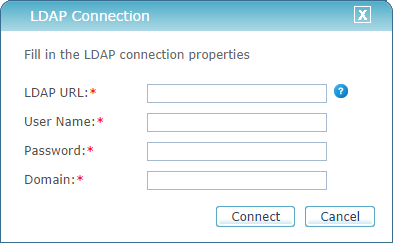
3. Fill in the following information (you may need your system administrator’s help to fill in the required LDAP information):
● LDAP URL: The LDAP URL indicates the location of the Active Directory server.
The LDAP connection string is made up of the server's name, followed by the path of the container object where the user is located. Examples of LDAP URL strings:
LDAP://servername.domain/DC=domain,DC=com
LDAP://myDomainController.myDomain.com/CN=Users,DC=charrandev,DC=com
 In case of secure LDAP, type LDAPS,
followed by the connection string.
In case of secure LDAP, type LDAPS,
followed by the connection string.
For more information, see:
http://stackoverflow.com/questions/11458291/how-do-i-build-this-ldap-connection-string
http://serverfault.com/questions/130543/how-can-i-figure-out-my-ldap-connection-string
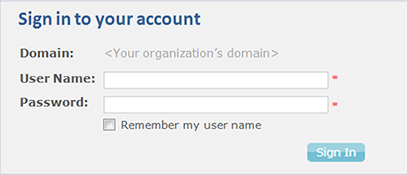
● User Name: Your LDAP server user name.
● Password: Your LDAP server password.
● Domain: Your organization’s domain server name.
4. Click Connect.
uStore connects to the LDAP server.
5. After a successful connection, make sure that the appropriate property names are selected in the following fields:
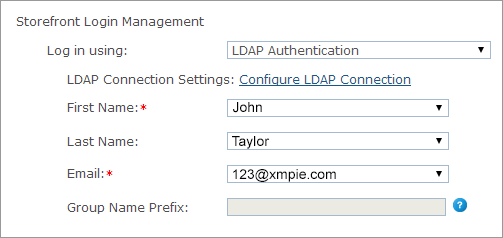
● First Name: Select the name of the property used for users’ first names. This property name can be givenName or CN, but some directories may use a different property name as well.
Consult with your System Administrator to make sure that you map
the property names correctly.
● Last Name: The property name commonly used for last names is SN. This property is not mandatory. If you do not select the property used for last name, select the option None.
● Email: Select the name of the property used for users’ email. This property name is usually mail.
It is important that you select the correct email property name.
uStore uses the email address to send out several types of notifications.
● Group Name Prefix: Fill in a name that will be used as the prefix of the uStore user group. The Group Name Prefix is used to distinguish LDAP domain controller groups from uStore groups.
6. On the Permissions tab, under Automatic Assignment to LDAP Users Group, select a group from the list.
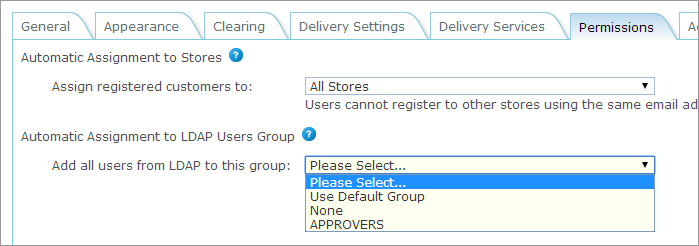
All users that log in using LDAP authentication are added to this group. The group that you select here does not replace any other group that LDAP users may belong to.
To make sure that the LDAP users are provided the required permissions, it is recommended that you create a new user group for each LDAP group and assign each group with the relevant permissions.
After you set up your store with LDAP authentication, users
will be able to log in to the store with the same credentials used in
their organization and won’t need to create a new user for uStore.
Example
See Also
Creating User Groups that Match LDAP Groups