


Selecting the Store Skin
You can control the look and feel of your
stores by either selecting one of the uStore default skins or using your
own store skin(s) instead. If you want to use your own skin, you need
to prepare it in advance. uStore supports two types of skins: desktop
and mobile. The skins are designed with active CSS and can easily be modified
using HTML5 Base.
Skin examples

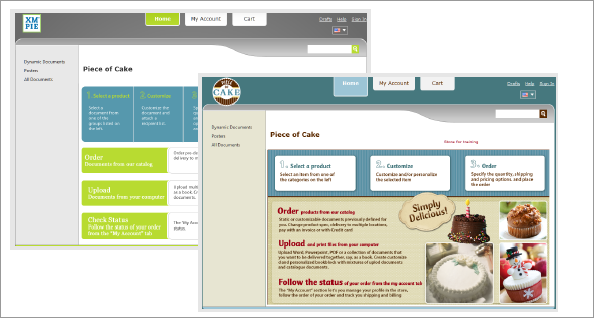
What do you want to do?
Add a desktop skin to the uStore system
Add a mobile skin to the uStore system
The uStore Back Office application automatically detects the new skin library and includes it in the Skin Name section. Note that the default XMPieGreen skin is also adapted for mobile devices.
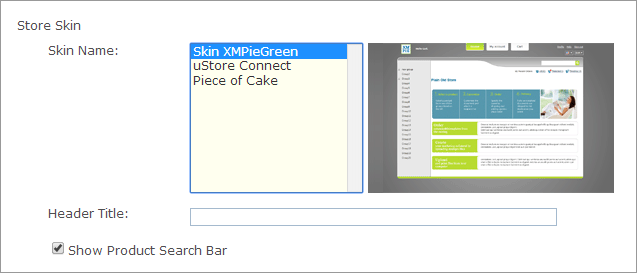
To select a skin:
1. In the Store Skin section, select the required skin from the Skin Name list.
 For uStore Connect stores, make sure to select a skin that matches
the appearance of the third-party e-commerce application.
For uStore Connect stores, make sure to select a skin that matches
the appearance of the third-party e-commerce application.
2. If you want
to add a header title to your store, enter it in the Header
Title box. This will be displayed in the store Welcome page.
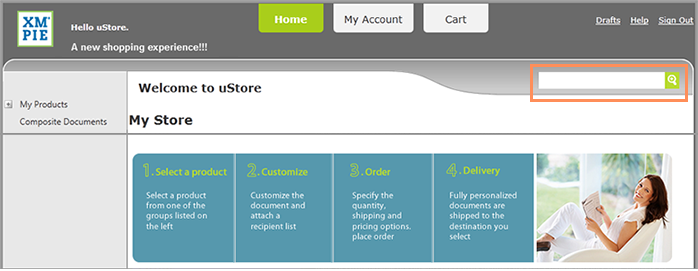
Example

3. Select
the Show Product Search Bar to
enable the product Search Bar in your store’s Home page
and Product List page.
The product Search Bar enables customers to quickly find products by product
name, product description and key words.
Example
See Also
Watch this video to learn
more about mobile features ![]()