


Setting Up the Order Handling Action Table
The Order Handling Action table enables you to add actions to the default Action list in the Orders view. See Handling Orders.
To add an Order Handling action:
1. In the Presets view, click System Setup.
2. In the System Setup list, click Order Handling Action.
3. Click the Add New button.
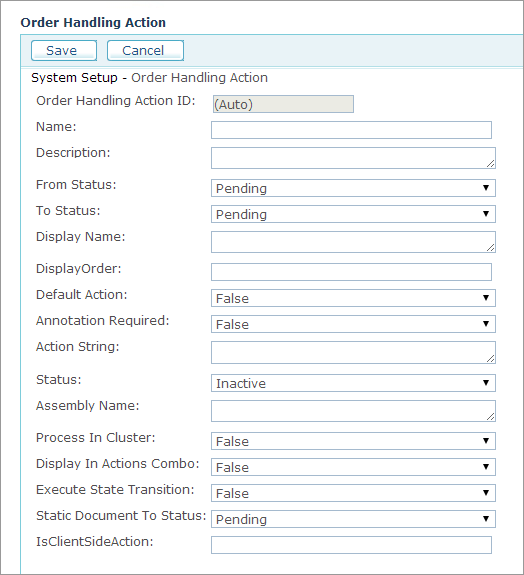
4. Fill in the following fields and selections:
● Name, Description: Name and description of the Action item.
● From Status, To Status: Select the transition origin and destination to which the action refers.
● Display Name: Name of the action as it appears in the Orders view.
● Display Order: Unique number that will determine the location of this action in the Action list of the Orders view.
● Default Action: Select True if this action is the default one. Otherwise, select False.
● Annotation Required: Select whether to force administrators to annotate to a state transition.
● Action String: Indicate the class that is associated with this action.
● Status: Select whether to activate this action (Active) or deactivate it (Inactive).
● Assembly Name: Indicates the assembly in which the action’s code resides.
● Process In Cluster: Select True if you want all selected items in the Orders List page to be sent as a cluster or separately to the action.
● Display In Action Combo: Select whether to display this action in the Action list of the Orders view.
● Execute State Transition: Select whether to record a state transition. Note that True must be selected if you want to record state transition annotations. See Annotation Required field above.
5. Click Save.
See Also
Watch this video to learn
more about creating queues ![]()